15 Jan 2019
meets Tuesday and Thursday from 0800-0915
office hours in Manning 112
Class Schedule
10 Jan | intro
15 Jan |
clients |
Open Source |
VPN |
file transfer |
SFTP |
GitHub |
next session
17 Jan | servers
22 Jan | networks
24 Jan | basics lab
29 Jan | structural layer
31 Jan | presentational layer
05 Feb | working with layers
07 Feb | behavior layer
12 Feb | images & design
14 Feb | website lab
19 Feb | document markup
21 Feb | tools that read markup
26 Feb | document markup lab
28 Feb | spreadsheets
05 Mar | formulas & functions
07 Mar | data display
19 Mar | database tools
21 Mar | spreadsheets lab
26 Mar | relational databases
28 Mar | tables
02 Apr | relationships
04 Apr | input & output
09 Apr | SQL
11 Apr | complex queries
16 Apr | databases lab
18 Apr | presentation design
23 Apr | presentation delivery
25 Apr | presentation lab
30 Apr | 0800-1100 | final in class presentation
School Information

This work
is licensed under a
Creative Commons Attribution-NonCommercial-ShareAlike 3.0 Unported License.
home & schedule | class blog | syllabus | contact | grades
The most common transaction that a web designer will have with a web server is the uploading of HTML documents, graphics, and other media files. Files are transferred between computers over a network via a method called SFTP (Secure File Transfer Protocol).
Install an SFTP client on your personal laptop.
Use the SFTP client that is best for your laptop's operating system.
back to top
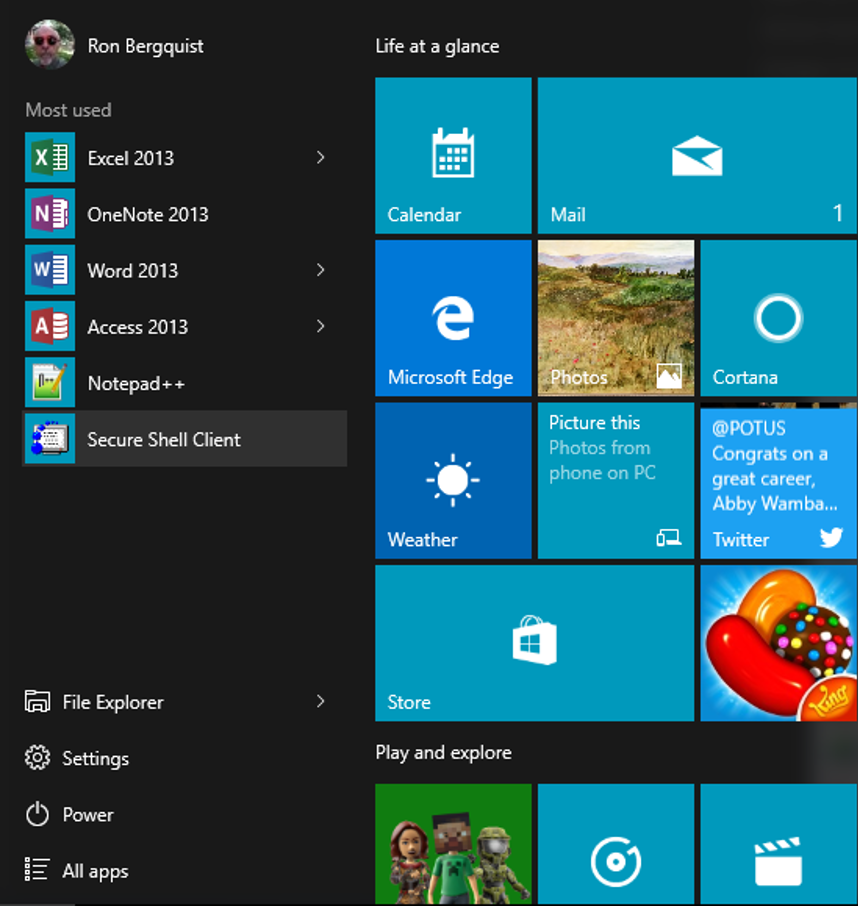
Task 01.04: Install an SFTP client | Windows
If you are using Windows, use UNC Shareware to obtain SSH/SFTP Secure Shell Client.
After you have downloaded and installed it, take a screenshot of your programs files to show me that you have it. Remember that you can take a screenshot by holding Command+Shift+4 and dragging your cursor over the area you wish to select.
But hold on to the image.
You will use your SFTP tool to store the image in the directory you will create in Task 01.05.
This will require you to paste the screenshot into some application that you can manage it.
This example is an image of an example Mac OS X applications window.
back to top
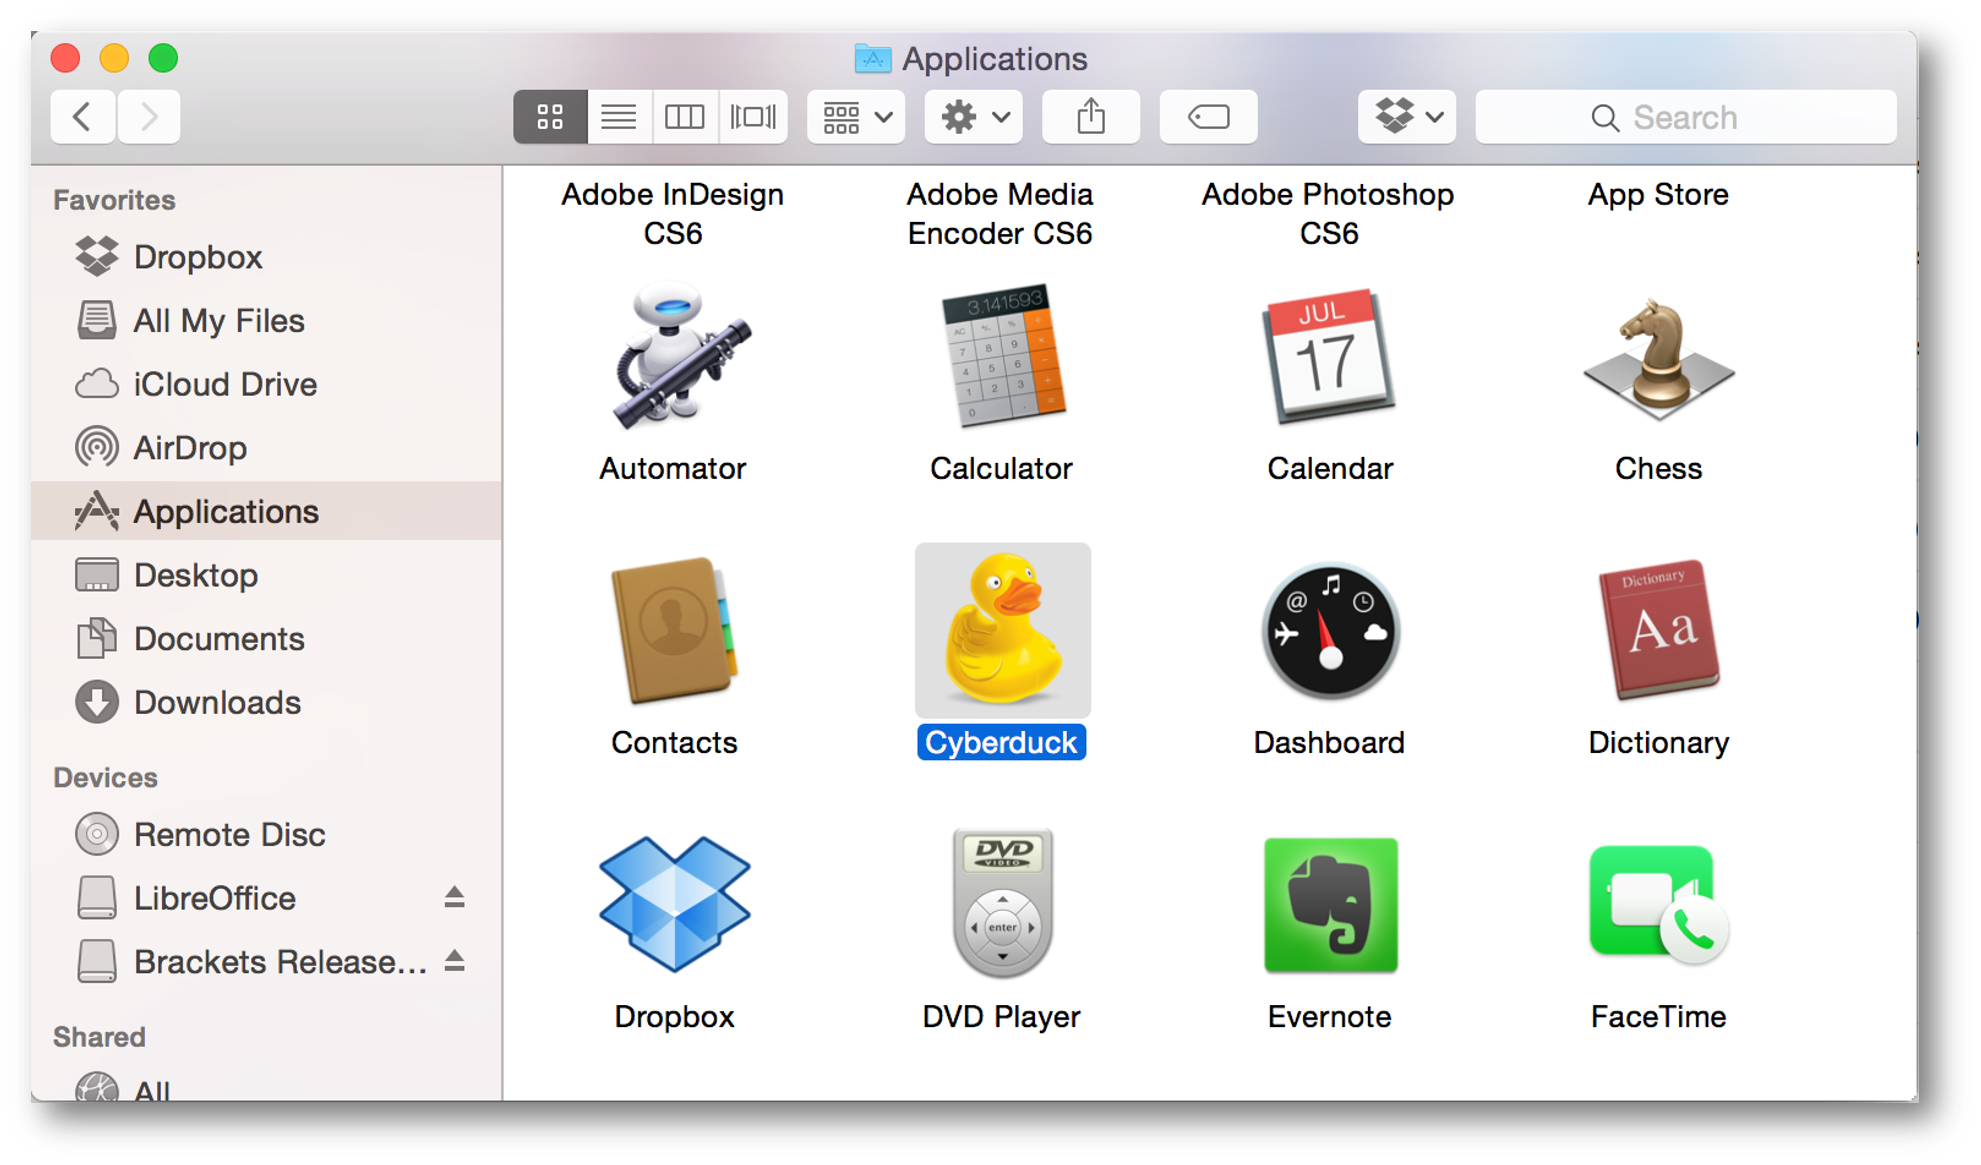
If you wish to use Fetch, download it through UNC Shareware.
If you don't like Fetch, feel free to download whatever Mac SFTP client you prefer. FileZilla is compatible with Windows, Mac, and Linux operating systems. If you use Firefox as an Internet browser, you might want to check out FireFTP to use SFTP/ SFTP transfers from within your browser window. Cyberduck is particularly user-friendly, although there are many other (free) Mac-specific SFTP tools out there.
After you have downloaded and installed it, take a screenshot of your programs files to show me that you have it. Remember that you can take a screenshot by holding Command+Shift+4 and dragging your cursor over the area you wish to select.
But hold on to the image. You will use your SFTP tool to store the image in the directory you will create in Task 01.05. This will require you to paste the screenshot into some application that you can manage it. This example is an image of an example Mac OS X applications window.
[top]
back to top
If you are using Linux, use any free client that you prefer.
After you have downloaded and installed it, take a screenshot of your programs files to show me that you have it. But hold on to the image. You will use the SFTP tool to store the image in the directory you will create in Task 01.05. This will require you to paste the screenshot into some application that you can manage it. This example is an image of my laptop, trimmed a bit to fit.
back to top
clients | Open Source | VPN | file transfer | SFTP | GitHub | next session