week of 26 January 2021
Value Added | daily
Class Schedule
Basics | sessions 01-03
- 19 Jan intro and clients | lecture | labs
- 26 Jan servers and command line | lecture | labs
- 02 Feb networks and protocols | lecture | labs
Web Development | sessions 04-08
- 09 Feb structural layer | lecture | labs
- 16 Feb presentational layer | lecture | labs
- 23 Feb using a structure | lecture | labs
- 02 Mar behavioral layer | lecture | labs
- 09 Mar design thoughts | lecture | labs
Dealing with Markup | sessions 09-10
Working with data | sessions 11-14
- 30 Mar formulas, functions, vectors | lecture | labs
- 06 Apr data display | lecture | labs
- 13 Apr manipulate data sets | lecture | labs
- 20 Apr relational data bases | lecture | labs
Presentations | sessions 15-16

This work
is licensed under a
Creative Commons Attribution-NonCommercial-ShareAlike 3.0 Unported License.
home & schedule | syllabus | contact | grades
Understanding public keys can be useful.
Setting up a public key
Why do we need to know this?
Although you will use your ONYEN credentials to authenticate your permissions to use the Opal server, as you move on with your career, you may find yourself in a situation where you need to authenticate with multiple servers. Use of a public key will make this connection much easier to do and much more efficient.
So this will be an explanation of how to create a public key on your client and then move it to a server that has agreed to work with a public key. Opal will continue to require ONYEN authentication.
Steps
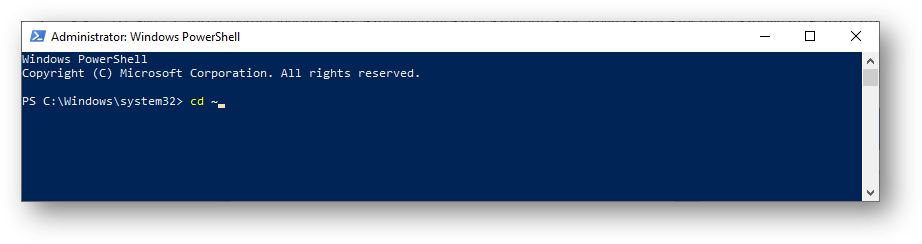
- Open your terminal (on a Mac)/PowerShell (on a Windows PC) to reach the command line on the client machine.
-
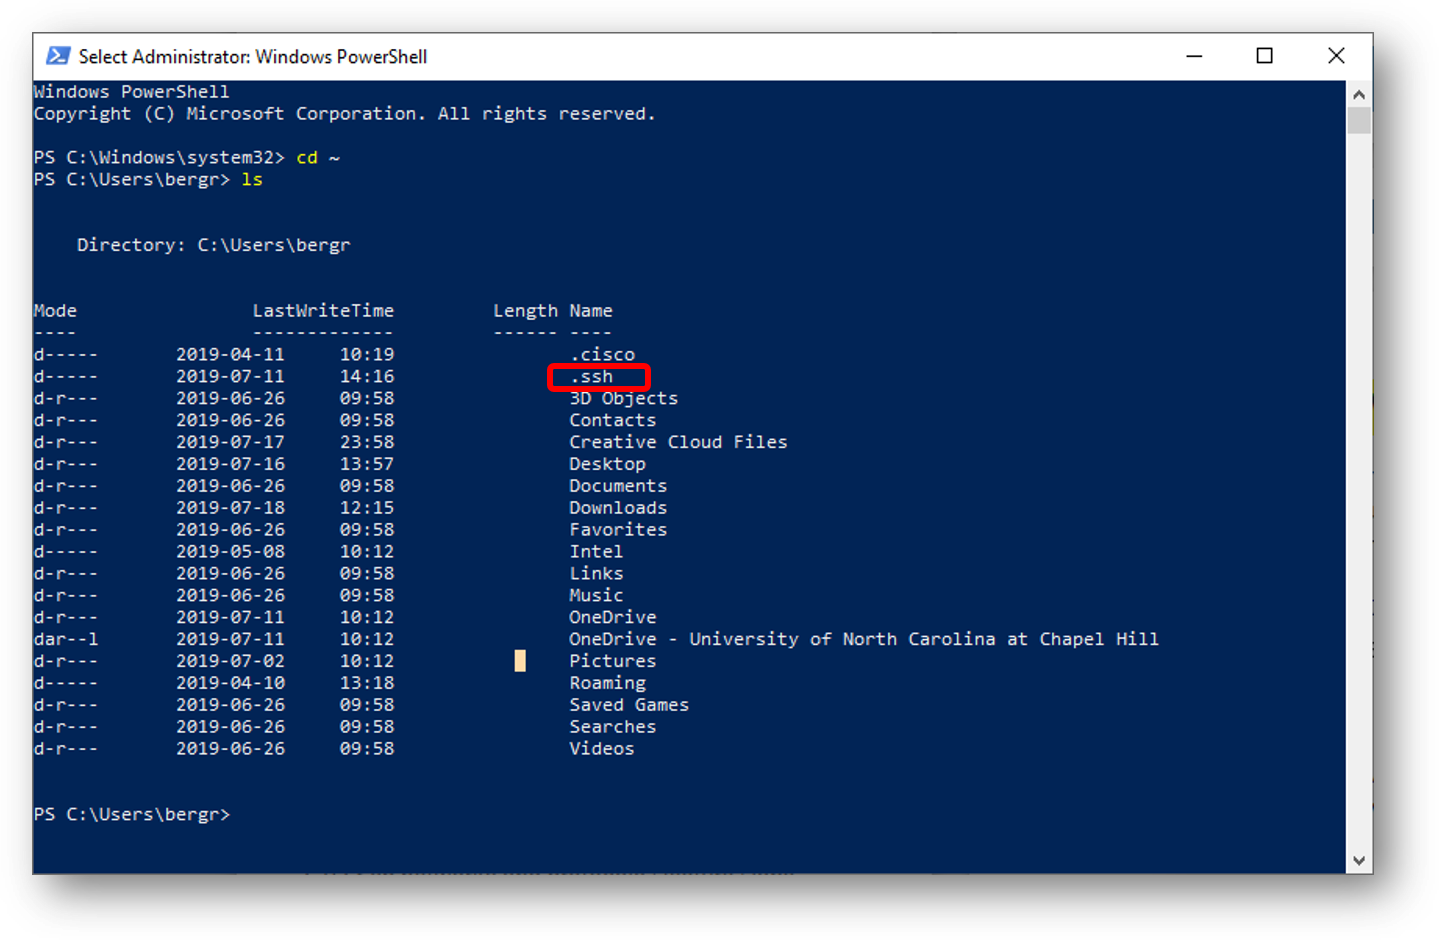
Change to your home directory using cd ~
- In this case, we see that there are .ssh keys available.
- If you do not have the SSH keys or .ssh directory, generate the keys with this command: ssh-keygen
-
Copy the contents of your new public key: cat ~/.ssh/id_rsa.pub
- Highlight and copy the output from this file. Careful to only copy the contents of the file and not your command prompt.
- Note that you must use 'cat' and not 'more' or 'less' for this to avoid extra newline characters.
-
Edit your 'authorized_keys' file on the remove server:
- ssh username@remote_server
- once logged in at your top (or root) level ...
- make a new directory using mkdir ~/.ssh
- Paste in the text you copied in step 4 using nano -w ~/.ssh/authorized_keys
- Use CONTROL+X to close the file
- Set the proper permissions for this new file (still on remote server): chmod 600 ~/.ssh/authorized_keys
- Log out of remote server and then attempt to log in. You should be auto logged-in without a password.
back to top
26 January labs | command line practice | create a directory | public key | L/M/WAMP