
Class Session: Monday Apr 22, 2019
Presentation Delivery
There are many helpful links on the 06 tasks overview page.
Review from Previous Class
Click the image to download the Powerpoint Quickstart file

Orion blasts off atop a Delta IV Heavy rocket from Cape Canaveral Air Force Station. Photo: KennedySpaceCenter.com
Import a Word .rtf file for an outline
You can create a PowerPoint presentation from an OutlineThis is not a required task. It's just nice to know that you can do it.
Insert > New Slide > Slides from Outline
I have had better luck with this using an .rtf file.
Here is the tasks-outline.rtf file I used to start the PPXpress Powerpoint Example. This will result in bullets that you will need to reformat, though.
Transition between slides
If you want to have effects introduce the slide, reveal the Slide Transition tool from the animations ribbon.
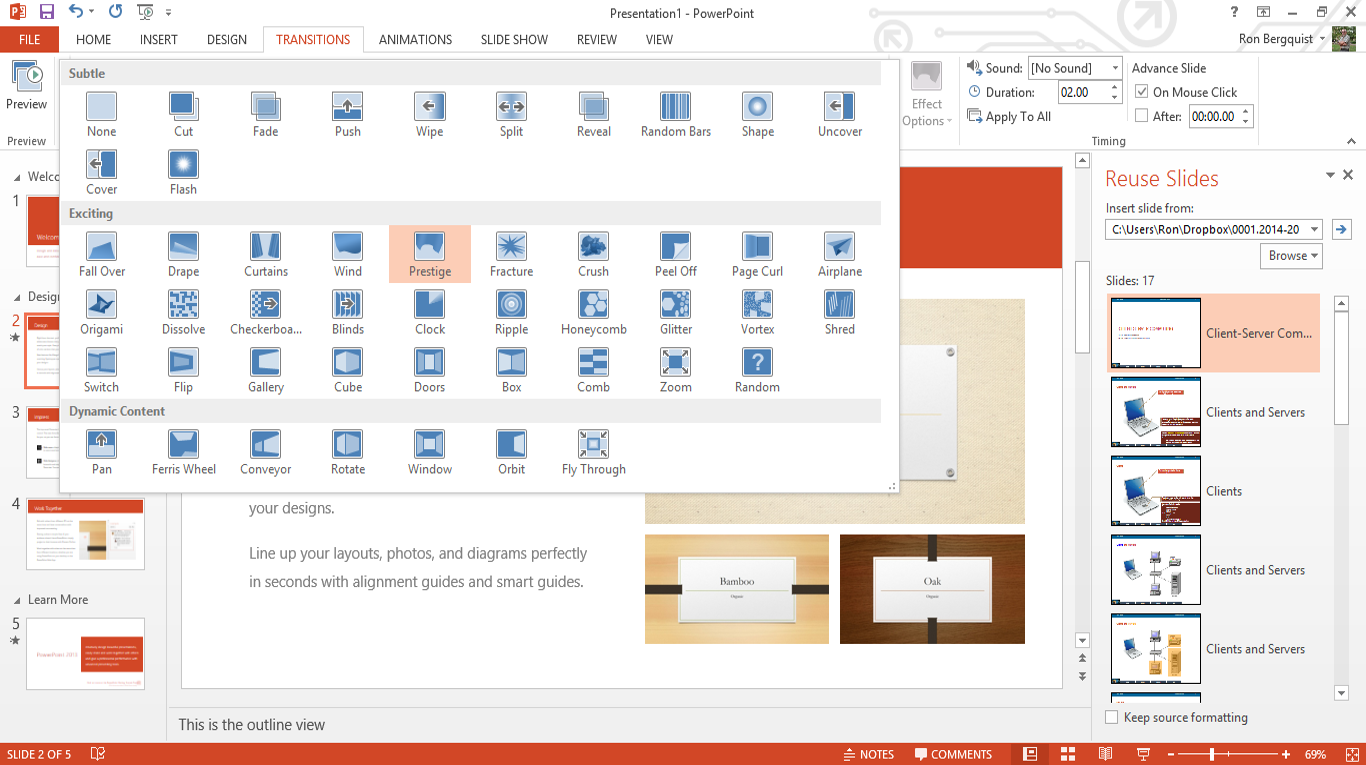
- using the shift key or the control key, as appropriate, along with the mouse, select the slides that you wish to display transition effects
- use the transition tool to apply, to a single slide, a group of slides, or all the slides
- you can select the type of transition effect, the speed of the effect, sounds to accompany transition, and whether the transition effect happens automatically or upon your action
Animation of objects on slides
You may also choose to animate specific objects on individual slides so that they appear with effects you select. In the Animation ribbon, use Custom Animation to reveal the dialog box.
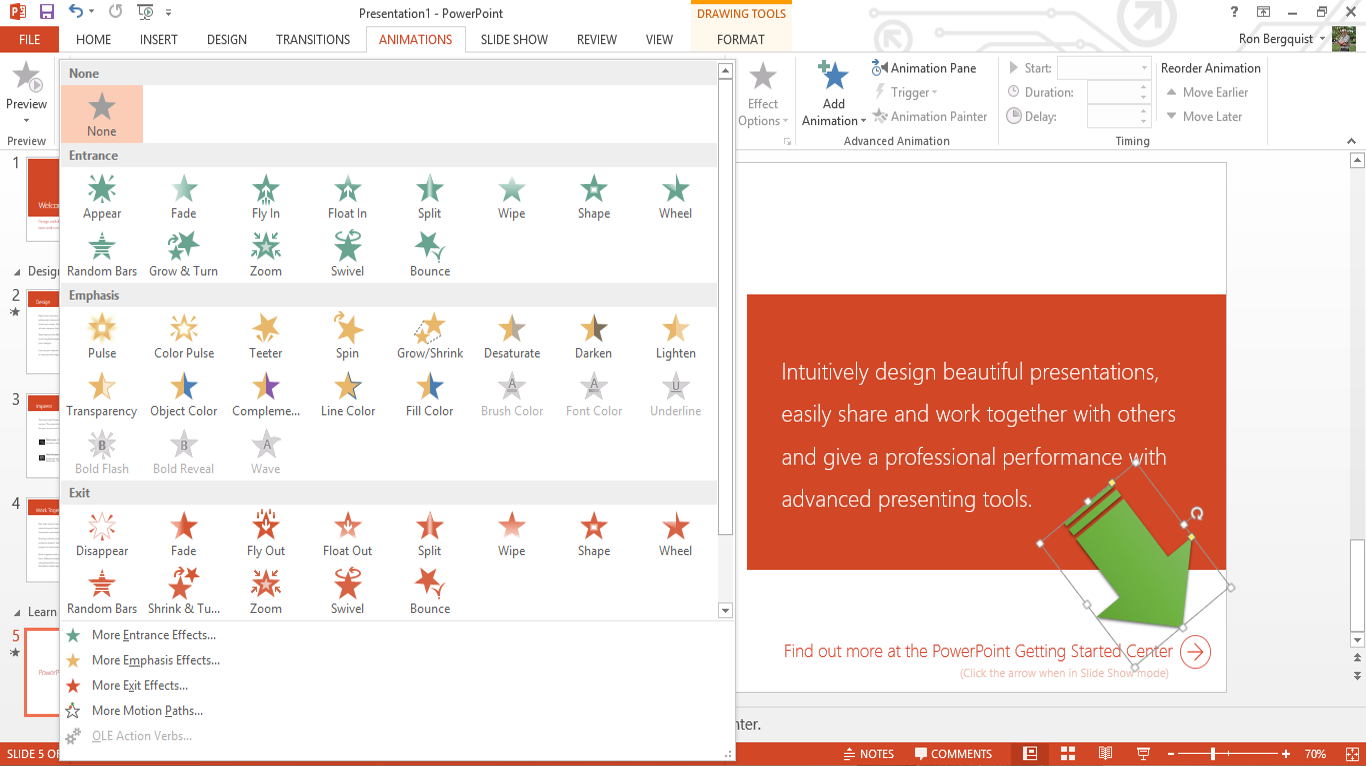
- using this box, you can decide which objects to animate, the order and timing that the animation will take effect, and the visual and audio effects that apply to each object
- you can also use this dialog box to preview what an animation will look like
- here is where you decide how to reveal text on your slides
- if you wish to have objects appear simultaneously, you will have to group them using your drawing toolbar so that the custom animation can animate the grouping, rather than the individual components
Hiding slides
To incorporate a slide in your presentation, but hide it so that it does not show unless you decide to show it, go to Slide Sorter view, select the slide to be hidden and press the hide slide button.
- the slide will have its number crossed out in the Slide Sorter view and will not display in the Slide Show view
- if you wish to display a hidden slide in Slide Show view, right click on any slide and a dialog box will appear
- with this dialog box, you can Go to the slide of your choice
- the slide you are on will be highlighted and any hidden slides will be identified by being greyed out and having their sequential numbers crossed through
- you can then select the hidden slide with your mouse and go directly to it
Linking slides
You may also hyperlink from one slide to another in a presentation, or to a hidden slide.
in Normal or Slide view, select an object (which may also be text) that you wish to attach a hyperlink to, then right click to bring up a dialog box which will allow you to select the object, either in the slide show, in a file, or on the web, that you wish to link to.
Handouts
You may wish to leave your audience with a paper copy of your presentation.
- you can print out either small copies of your slides in 2, 3, 4, 6, or 9 slides per page format by using the Home Button > Print dialog box
- or you can provide them notes to accompany each slide by selecting Notes Pages with the Print what menu on the print dialog box
- by using the View > Master > Notes Master drawdown menu, you can customize the format for how your Notes Pages will print out by modifying the shape and location of the objects on the page